
CNC Pre-Cut Shop Prep Checklist: Workholding, Zeroing, and Dust Hose Before You Press Start
A beginner-friendly pre-cut checklist for small CNC routers: clear the table, stage clamps and steps, set a reliable XYZ zero, route the dust hose, and do a dry run—so your first real pass is controlled instead of chaotic.
The goal of shop prep (it is not perfectionism)
Most ruined beginner CNC jobs are not ruined by fancy CAM settings. They fail because the blank moved, the zero was wrong, the bit was not tight, or the dust hose yanked something mid-cut. Shop prep is the 10-minute routine that prevents those boring failures.
Use this checklist before every job until it becomes muscle memory. It is written for home CNC users cutting wood or plastics on machines like a Shapeoko-style router, but the same order of operations helps on almost any small CNC.
1) Clear and inspect the machine envelope
Remove scraps, loose screws, tape rolls, and the last job’s offcuts from the wasteboard. Anything left in the travel envelope can become a crash. Wipe the area so you can see clamp positions clearly.
Check that the spindle collet area is free of chips and that the dust shoe (if you use one) can sit close to the stock without hitting clamps. If clamps stick up into the shoe path, redesign the clamp layout before you trust the first roughing pass.
2) Stage workholding before you place the finished blank
Decide how the part will be held: cam clamps, strap clamps, screws into a spoilboard, or a hybrid. Lay out clamps and clamp steps first so pressure lands on waste areas, not on finished faces you care about.
For many rectangular blanks, two to four clamps plus step blocks or clamp steps create a repeatable height under the clamp arm. The point of shop prep is repeatability: if you can remount the same way tomorrow, your Fusion offsets and CAM origins stay meaningful.
Snug clamps evenly. Over-tightening soft woods can crush fibers and shift the blank as fibers relax. Under-tightening lets the cutter walk the part. A firm, even hold with clamps outside the cutter path is the beginner standard.
3) Install the bit and confirm stickout
Insert the cutter fully against the collet/back of the bore according to your spindle/router manufacturer guidance, then tighten with the correct wrenches. Do not leave bits barely grabbed by the tip of the collet.
Write down or photograph stickout if you use tool-length probing. Inconsistent stickout is a common reason a “same” toolpath cuts shallow or deep after a tool change.
4) Set XYZ zero in a way you can trust
Pick an origin strategy and stick to it for the project: top-left of stock, center of stock, or a fixed fixture reference. If you use a probe or BitZero-style touch-off plate, make sure the plate has a known home on the table and is not floating in a pile of chips.
After probing or jogging to zero, do a sanity check: jog to an expected corner of the blank and confirm the machine position matches your mental model before you run spindle-on code. Many beginners skip this 20-second check and pay for it with a plunged corner.
5) Dust hose and cable routing (the crash nobody expects)
Clip or mount the dust hose so the gantry can travel full range without dragging the hose across clamps. A hose that looks “fine” at X0Y0 can bind at max X/Y. Move the machine through the extremes with the spindle off (or run a machine-travel dry check) while watching the hose.
Turn on extraction and confirm suction at the shoe before the first cut. As covered in OSHA woodworking dust guidance, capturing dust near the source is the primary engineering control for wood dust—shop prep is when you verify that control is actually on.
6) Dry run, then first pass
If your controller supports it, run a toolpath preview or a raised Z dry run above the part. Watch for clamp collisions and unexpected rapid moves toward the stock.
For the first real pass, stay at the machine. Listen for changes in cutting sound that suggest a loose clamp, dull bit, or wrong feed. Pausing early is cheaper than finishing a bad cut.
After the job, vacuum the table and hose connections so the next setup starts clean. Fine dust left on rails and fixtures becomes the next job’s positioning error.
A one-page checklist you can reuse
☐ Table clear ☐ Clamps/steps staged outside cut path ☐ Blank secured evenly ☐ Bit seated and tightened ☐ XYZ zero verified with a jog check ☐ Dust hose supported through full travel ☐ Extractor on and pulling ☐ Dry run watched ☐ First pass supervised
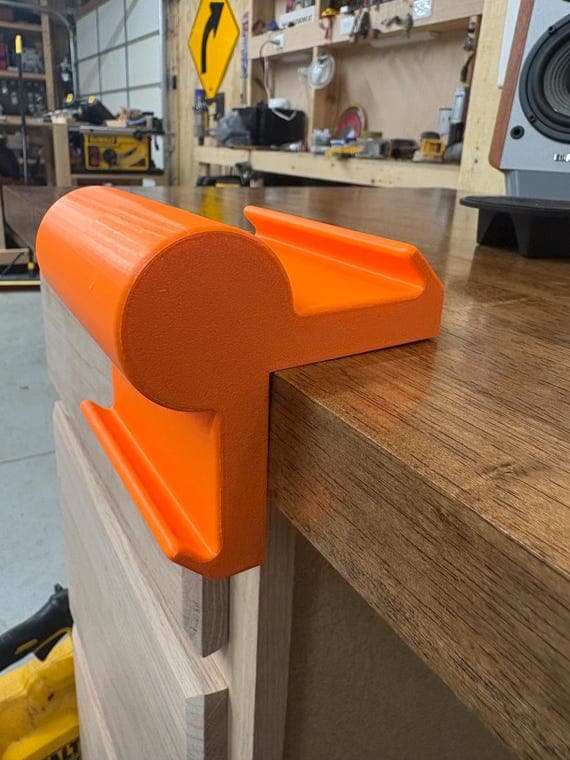
When you want dedicated CNC helpers for this routine—cam clamps, clamp steps, probe-holder mounts, and dust-hose supports—see the related products from Kolton Kraft below.
Sources
Claims in this guide are grounded in the references below. Always check the live primary source for the latest wording.
Related products
Parts from the Kolton Kraft shop that pair with this guide.
Related YouTube videos
Helpful public videos from other creators and educational channels. These are not Kolton Kraft videos— we link them because they match this topic. Opening a link takes you to YouTube.
- How to use the Shapeoko Pro XXL (setup, BitZero probing, dust shoe)MakeHaven · Watch on YouTube
- How to make a dust collector with a wet/dry vacI Like To Make Stuff · Watch on YouTube
Kolton Kraft on YouTube
Shop builds and project videos from this channel.
Visit the Kolton Kraft channel